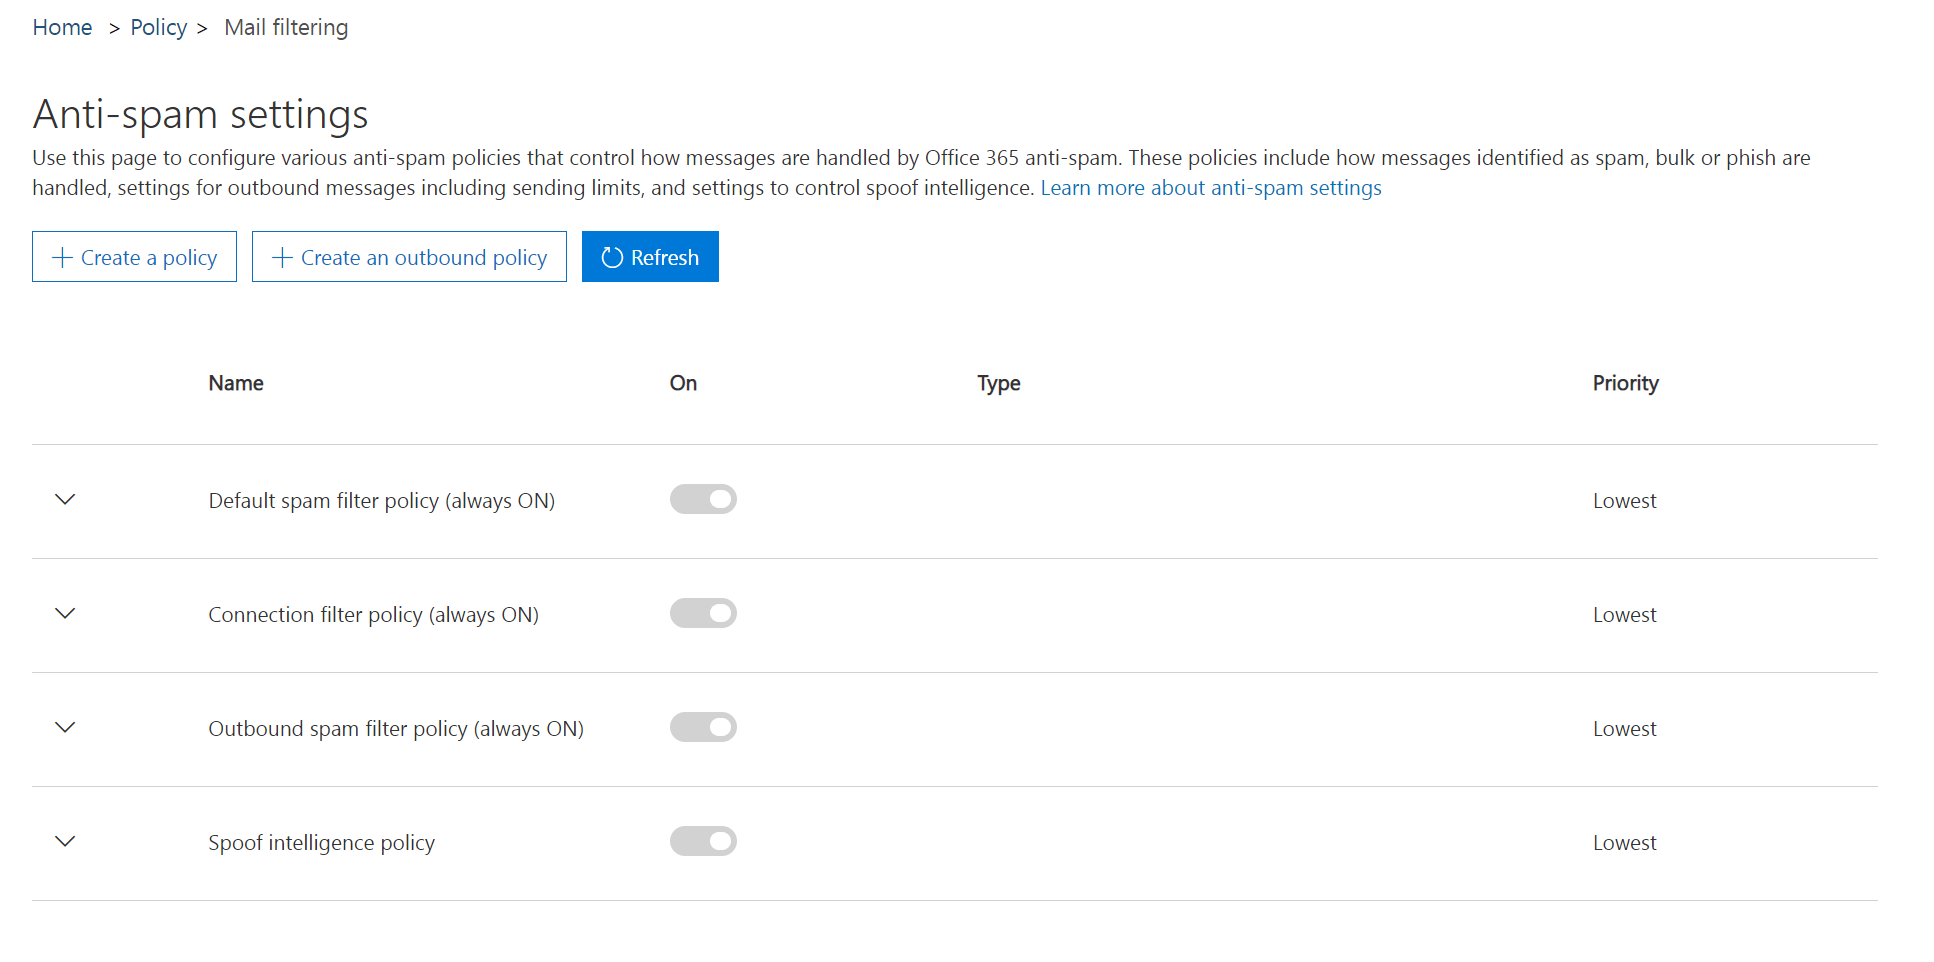
- Log in to your Office 365 Security & Compliance portal for Microsoft 365 and choose Threat management > Anti-spam or head directly to the Anti-spam settings page here: https://protection.office.com/antispam.
- 2
- Click + Create an outbound policy.
- 3
- Give your new outbound spam filter policy a Name and Description. Click the down arrow next to Automatic forwarding to expand that section. Choose On – Forwarding is enabled from the dropdown.

- 4
- Click the down arrow next to Applied to, then +Add a condition. Choose Sender is from the dropdown list, then click in Add a tag to find the email account(s) you’d like to allow to automatically forward and select them. Click Save.

This entry was posted on Friday, April 16th, 2021 at 15:09 and is filed under Microsoft 365. You can follow any responses to this entry through the RSS 2.0 feed.
You can leave a response, or trackback from your own site.